This post contains affiliate links.
Fresh bread is my weakness. When I was a kid my mom used to take me to this Italian grocery store in Jersey called Corrado’s Family Affair. They had everything from snails to weird cheeses. Now most kids HATE grocery shopping with their moms, but we loved it. And it was solely because of the sesame seed baguettes at Corrado’s. You see, they used to bake them fresh throughout the day, so you’d get these warm loaves of bread right off the shelf! My sister and I never waited and would start tearing off pieces and eating while we walked around the store bringing only the empty paper sleeve to the cash register.
Fresh bread is a little harder to come by here in California. Most grocery store just buy bread from outside bakeries and sell them. I was on a mission to make my own! I knew that making bread is a science so I started doing my research and found The Perfect Loaf. Maurizio, the blogger behind The Perfect Loaf, reveals the science behind bread making in an easy to understand format. One of the most useful tips I found was to treat temperature as an ingredient. I never really paid much attention to temperature (other than the oven) and didn’t realize what a big role it played in bread baking.
I highly suggest you go check out the blog since it was so helpful to me. He has step by step pictures and goes into detail on how to make and bake your bread.
The starter I made was a general recipe I had gotten from a sourdough bagel making class I had taken a while ago. Making your own starter is super simple, but you do have to remember to feed it every day! The starter helps flavor the dough, giving it that tang of a good sourdough bread.
As for hardware, a cast iron combo cooker is necessary to get the crust just right! I have a La Creuset Multi Function Pan that I used, but you can go to The Perfect Loaf to see his cast iron version as well. His version is MUCH cheaper at $37 while the La Creuset one goes for $200 (I got it on sale at an outlet for $80!). If you have neither, Maurizio suggests using an inverted stainless steel oven-ready bowl and a baking stone.
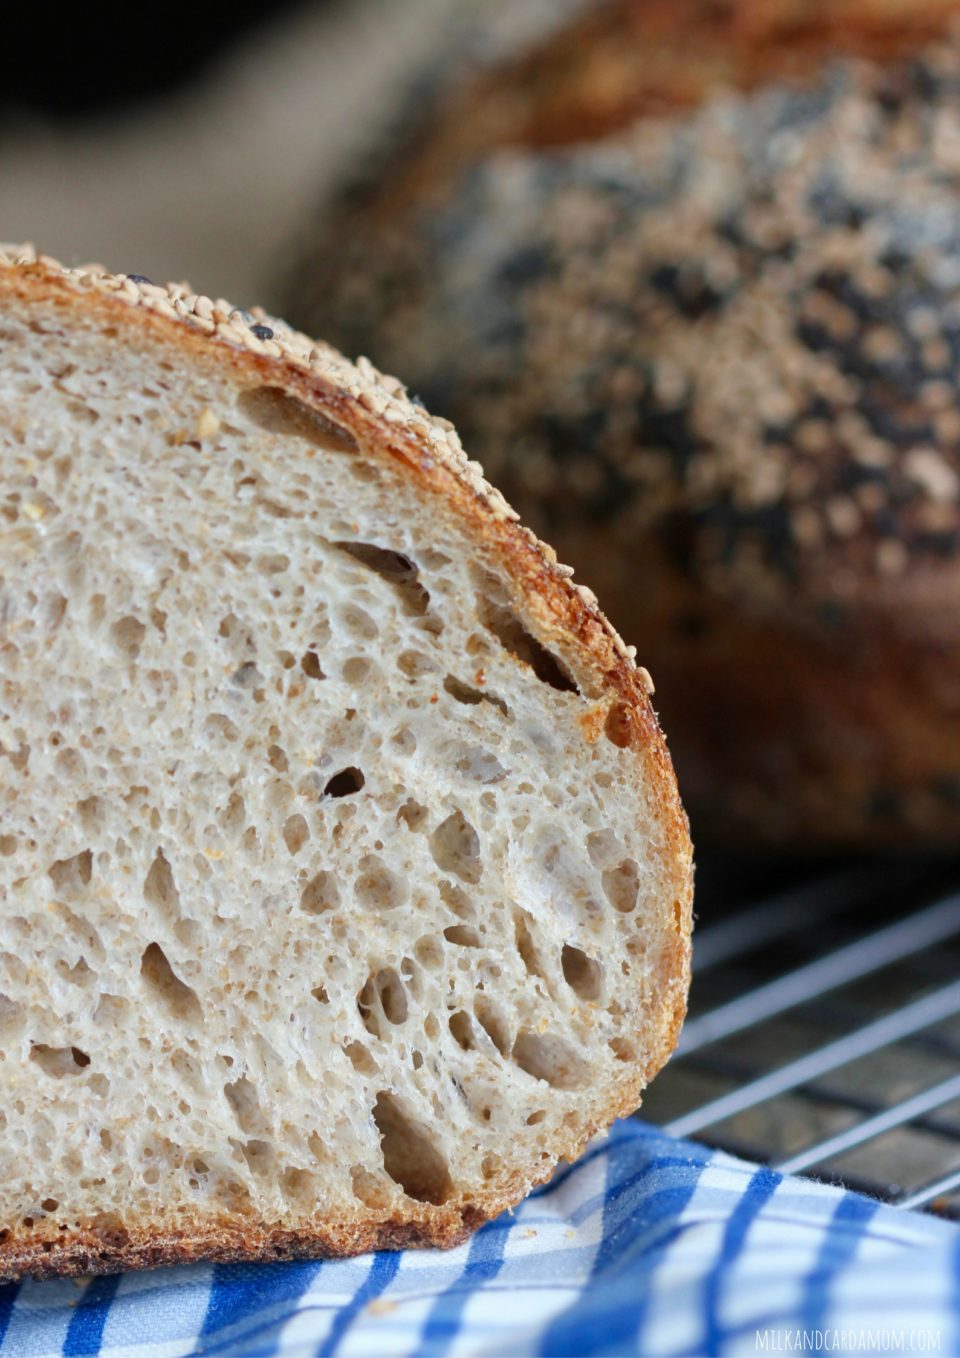
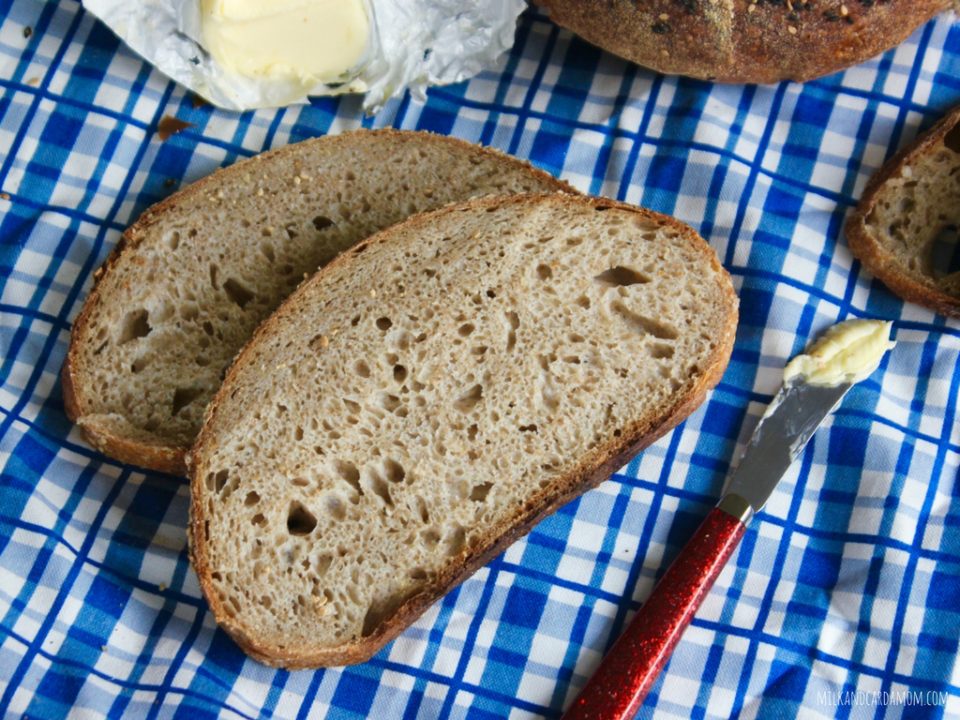
Bread making is a labor of love, but it is so satisfying! My loaf turned out delicious and I even brought out the good butter (aka cultured butter)! I think I might try baking two loaves every week!
Print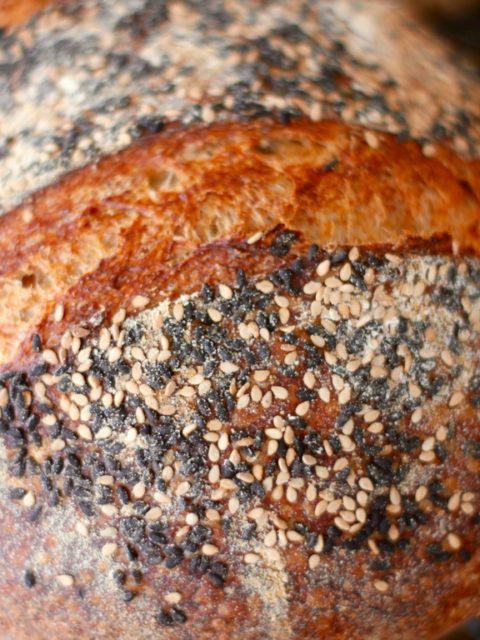
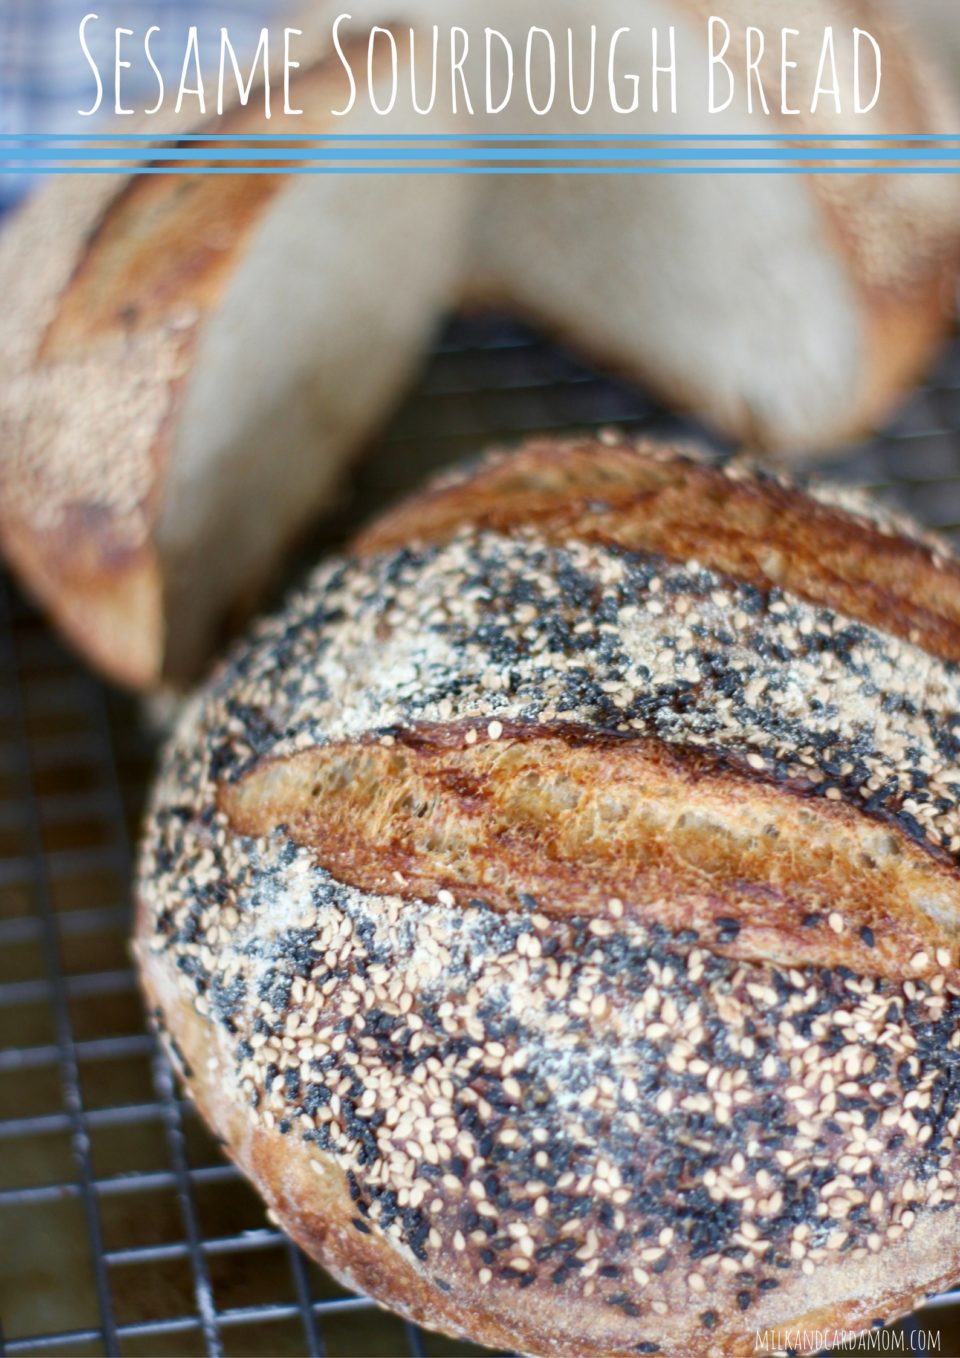
Sourdough Bread
- Total Time: 9 hours
- Yield: two 7-inch rounds 1x
Ingredients
Starter
- 1 tsp yeast
- 1/2 cup water, leave cup of water out on counter overnight to distill it
- 1/2 cup all purpose flour, + 3 tbsp for feedings
Levain
- 40g sourdough starter
- 40g whole wheat flour
- 40g bread flour
- 80g water, room temperature
Dough
- 641g bread flour
- 266g whole wheat flour
- 691g water at 94 F *
- 16g sea salt***
- 184g levain
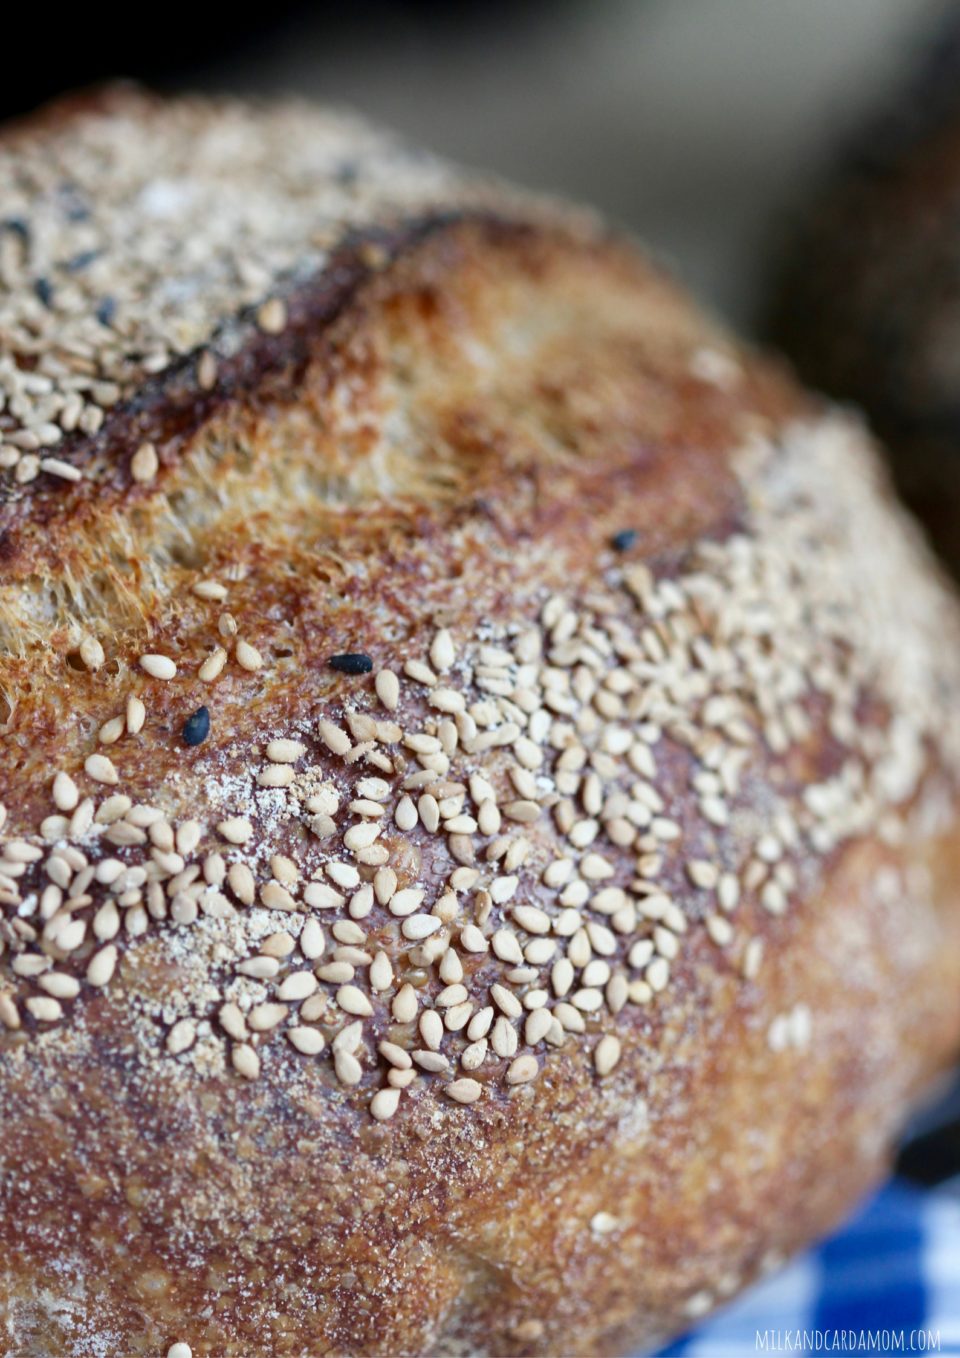
- 1 cup untoasted black or white sesame seeds
Instructions
Sourdough Starter
- In a non-metal container add yeast, distilled water, flour and water. Stir well. Set in a shaded, warm place for 24 hours.
- The next day, add 1 tbsp of flour and 1 tbsp of distilled water. Mix well and set aside in a shaded warm place for another 24 hours. Repeat for 2 more days.
Levain
- In a small container, add all the ingredients and mix well until all the flour is hydrated. Set aside in a warm place for 5-6 hours.
Dough
- One hour before the levain is ready, add bread flour, whole wheat flour and 651g water to a large bowl. Use your hands to mix together until all the flour is hydrated. It’s feel a little dry, but don’t worry! Set aside for 1 hour.
- Add salt, 184g of levain and 50g of water to the dough and use your hands to mix well (about 10-15 minutes). The dough will be pretty wet – don’t worry! The final temperature of the dough should be 78 F. Add dough to a large bowl and cover with a towel. Cover wit ha tea towel and set aside in a warm place for 30 minutes.
- After 30 minutes, leaving the dough in the bowl, use wet hands and “lift up one side (North) of the dough with two hands. Stretch the dough up high enough just so that you can fold it completely over to the other side of the dough in the bowl. Rotate the bowl 180º and do the other side (South). Finish the other two sides (East and West) . Let the dough rest 30 minutes, covered. Repeat two more times.”**Once you’ve done 3 folds, let the dough rest in a warm place for 2 1/2 hours.
- Dump the dough out onto a lightly floured surface. Divide the dough in half using a knife. Use your hands and the floured surface to roll each half into a tight smooth ball by tucking the edges underneath the ball and gently rolling it over the work surface. Cover both dough balls with a moist towel and rest for 10 minutes. Then remove the towel and rest an additional 10 minutes.
- Flour your work surface and top of the dough. Flip the dough ball so the the floured side is on the board. Use your hands to grab and pull the bottom of the round up and up 2/3 the way to the top. Then grab the right and left sides of the dough and stretch them out and then fold one side over the other. Now grab the top of the dough round and stretch and fold all the way down. Then flip the dough over and use your hands to roll the ball in a circle over the surface to seal. Let rest for 5 minutes.
- Spread sesame seeds evenly over a plate. Take your dough ball and plop the top (seam side up) onto the sesame seeds and then carefully lift and place into a towel lined bowl that has been dusted with rice flour so that the seam is up. Repeat with the other dough ball.
- Place bowls into a large plastic bag and make sure the bag doesn’t touch the dough. I blew a little air into mine to make it into a balloon. Rest for 20 minutes on the counter. Then place the bowls (still in the plastic bag) into the fridge to rest overnight (16 hours).
Bake
- The next day, place your combo cooker/dutch oven into the oven and pre-heat oven to 500 F for one hour.
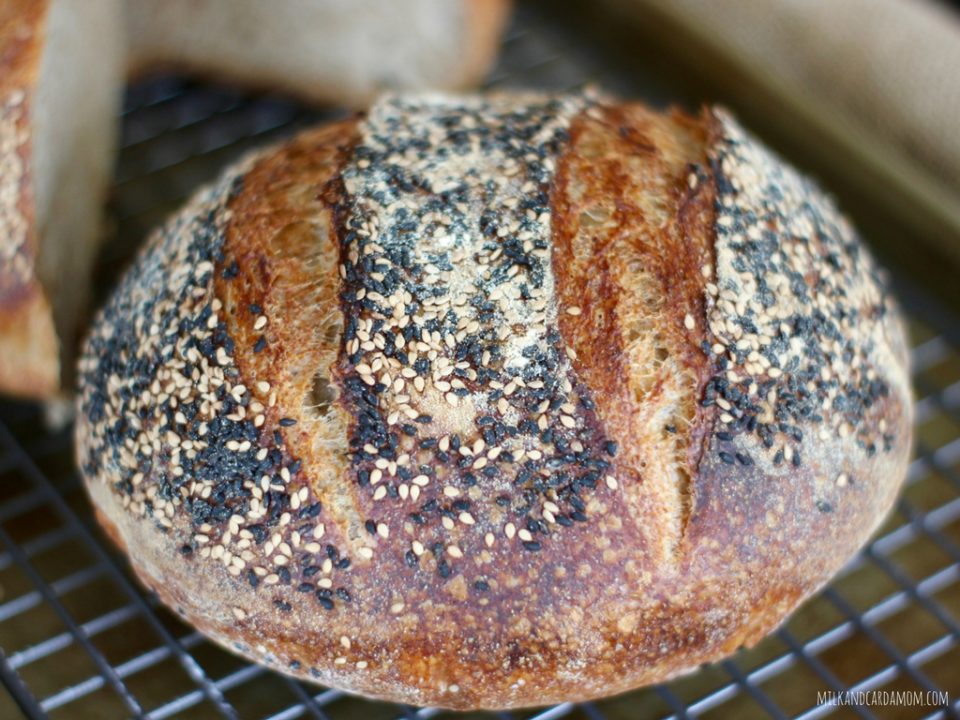
- Remove one of the dough balls and place a sheet of parchment paper and then a plate on top of the bowl. Then carefully flip the bowl upside down so the dough is on the parchment paper. Take a sharp knife, razor or kitchen shear and slice the bread on top in whatever design you want.
- Carefully remove the shallow skillet from the oven and slide the parchment paper and dough into the skillet.
- Turn down the heat to 475 F. Place the skillet into the oven and cover with the deep pan on top. Bake for 20 minutes.
- Remove the deep pan and place it next to the shallow pan holding the bread. Turn the heat down to 450 F and bake for 30 minutes uncovered.
- The bread should be down now – the internal temperature should be between 210 F and 212 F. Remove from the oven and cool bread on a rack. Enjoy!
Notes
* the temperature in my home was 69 F
I used The Perfect Loaf’s formula to calculate the temperature I needed for my water:
WaterTemp = (Final Dough Temperature x 4) – (LevainTemp + FlourTemp + AmbientTemp)
WaterTemp = (78 x 4) – (80 + 69 + 69)
WaterTemp = 94ºF
**recipe adapted from The Perfect Loaf’s
***fine sea salt, I know it looks like a lot of salt, but trust me!
- Prep Time: 8 hours
- Cook Time: 1 hour